
How to Install and Set Up Jekyll on Mac

- How to Install and Set Up Jekyll on Mac
- How to Check Debug Logs for iOS Apps Deployed from Mac - Instruments

This blog is also built on Jekyll and published through GitHub posts.
My development environment recently changed from Windows to Mac, so I had to set up a new environment on my MacBook:
install Homebrew -> install Ruby -> install rbenv for Ruby version management -> install bundler and Jekyll.
How to set up Jekyll
Open Terminal.
1. Install Homebrew
1
/bin/bash -c "$(curl -fsSL https://raw.githubusercontent.com/Homebrew/install/HEAD/install.sh)"
Update brew:
1
brew update
2. Install Ruby and rbenv
First, install rbenv using brew.
rbenv is a package that lets you manage multiple Ruby versions.
1
brew install rbenv ruby-build
- How to check installed Ruby versions available in rbenv:
1
rbenv versions
You can check the currently selected version.

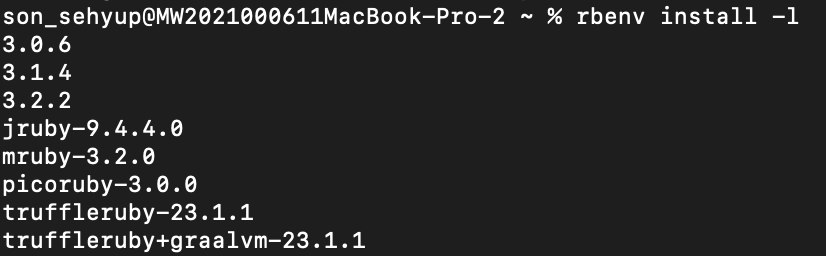
- How to check which Ruby versions can be installed:
1
rbenv install -l
As of 2023-10-30,
3.2.2is the latest version.
3. Install the latest Ruby version in rbenv and set it as global
- Install the version you want:
1
rbenv install 3.2.2
- Set your desired version globally:
1
rbenv global 3.2.2
But if you try to install bundler or Jekyll gems right away, you may get this error:
1
2
3
4
Gem::FilePermissionError: You don't have write permissions for the /usr/local/bin directory.

ERROR:  While executing gem ... (Gem::FilePermissionError)
    You don't have write permissions for the /Library/Ruby/Gems/2.3.0 directory.
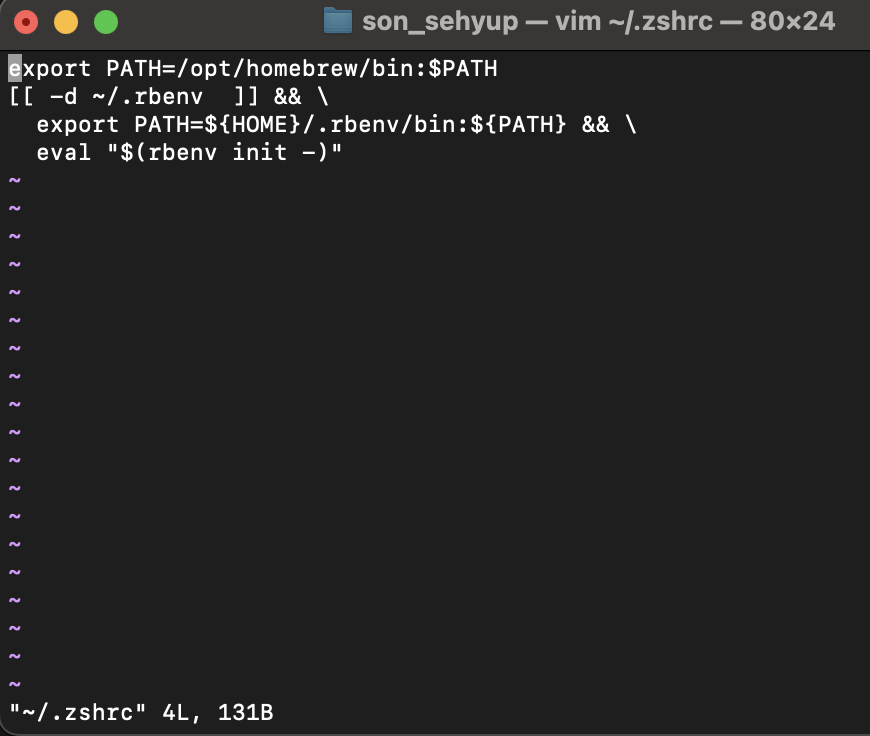
4. Fixing Gem::FilePermissionError
- You need to apply rbenv settings in
.zshrc. Open the vim editor and modify.zshrc.
1
vim ~/.zshrc
- You must enter INSERT mode to edit the file.
From that screen, press i to enter INSERT mode.
- INSERT mode
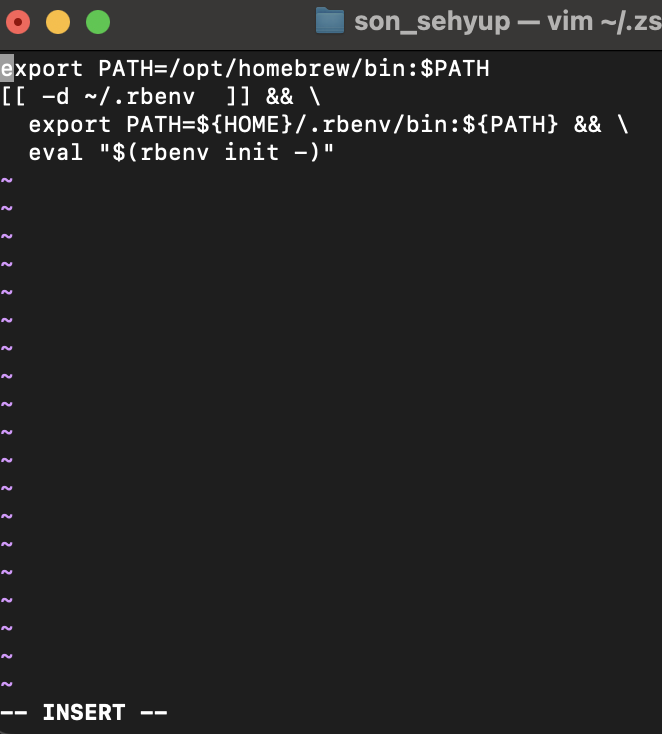
- Now you can type
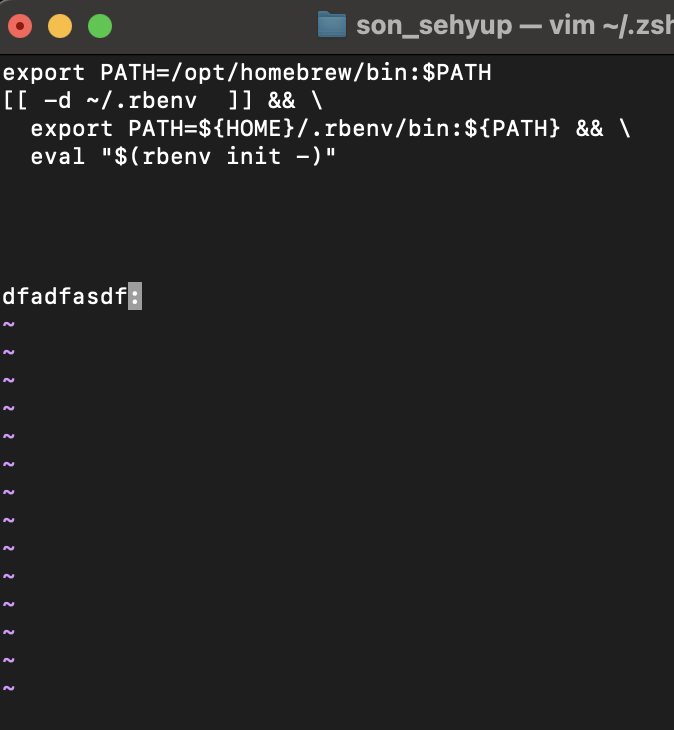
Press ESC to leave INSERT mode and return to NORMAL mode.
Press
:to run commands like quit/save.
1
2
3
4
5
:q    // quit
:w    // save
:wq   // save and quit
:q!   // quit without saving
:wq!  // force save and quit

- Copy the content below and add it to
.zshrcusing the same process:
1
2
3
[[ -d ~/.rbenv  ]] && \
export PATH=${HOME}/.rbenv/bin:${PATH} && \
eval "$(rbenv init -)"
5. Install bundler
1
gem install bundler
6. Move to your blog folder and install bundler dependencies
1
bundler install
After that, instead of building every time through GitHub Pages, you can run a local Jekyll server to preview your site.
- Run Jekyll server:
1
2
3
4
bundle exec jekyll s
bundle exec jekyll serve

Both work.
Local host URL:
1
http://127.0.0.1:4000/