
Unity iOS - Xcode Code Signing Guide (Certificates & Provisioning Profile)

Unity iOS - Xcode Code Signing Guide (Certificates & Provisioning Profile)
Build Series (6 / 7)
- Unity Build Automation - fastlane
- Unity Build Automation - Build Pipeline & Addressable
- Unity Addressable Build Error Fix - Animator Not Running
- Unity Build Automation - Jenkins
- Unity iOS ~ Xcode Build Pipeline Guide
- Unity iOS - Xcode Code Signing Guide (Certificates & Provisioning Profile)
- Jenkins Build Pipeline - Plugin List

Table of Contents
Apple Certificate
How to Create App ID (Identifier)
How to Register Devices
How to Create Provisioning Profile
Apple Certificates
- To run software (apps, programs) on Apple devices (hardware), a verification process confirms whether the app has been certified by Apple every time it runs.
- Since requesting and managing this every time is cumbersome, obtaining a certificate from Apple Developer grants you permission to run apps as a trusted developer.
How to Get a Certificate
1. Create a Key (Certificate Signing Request)
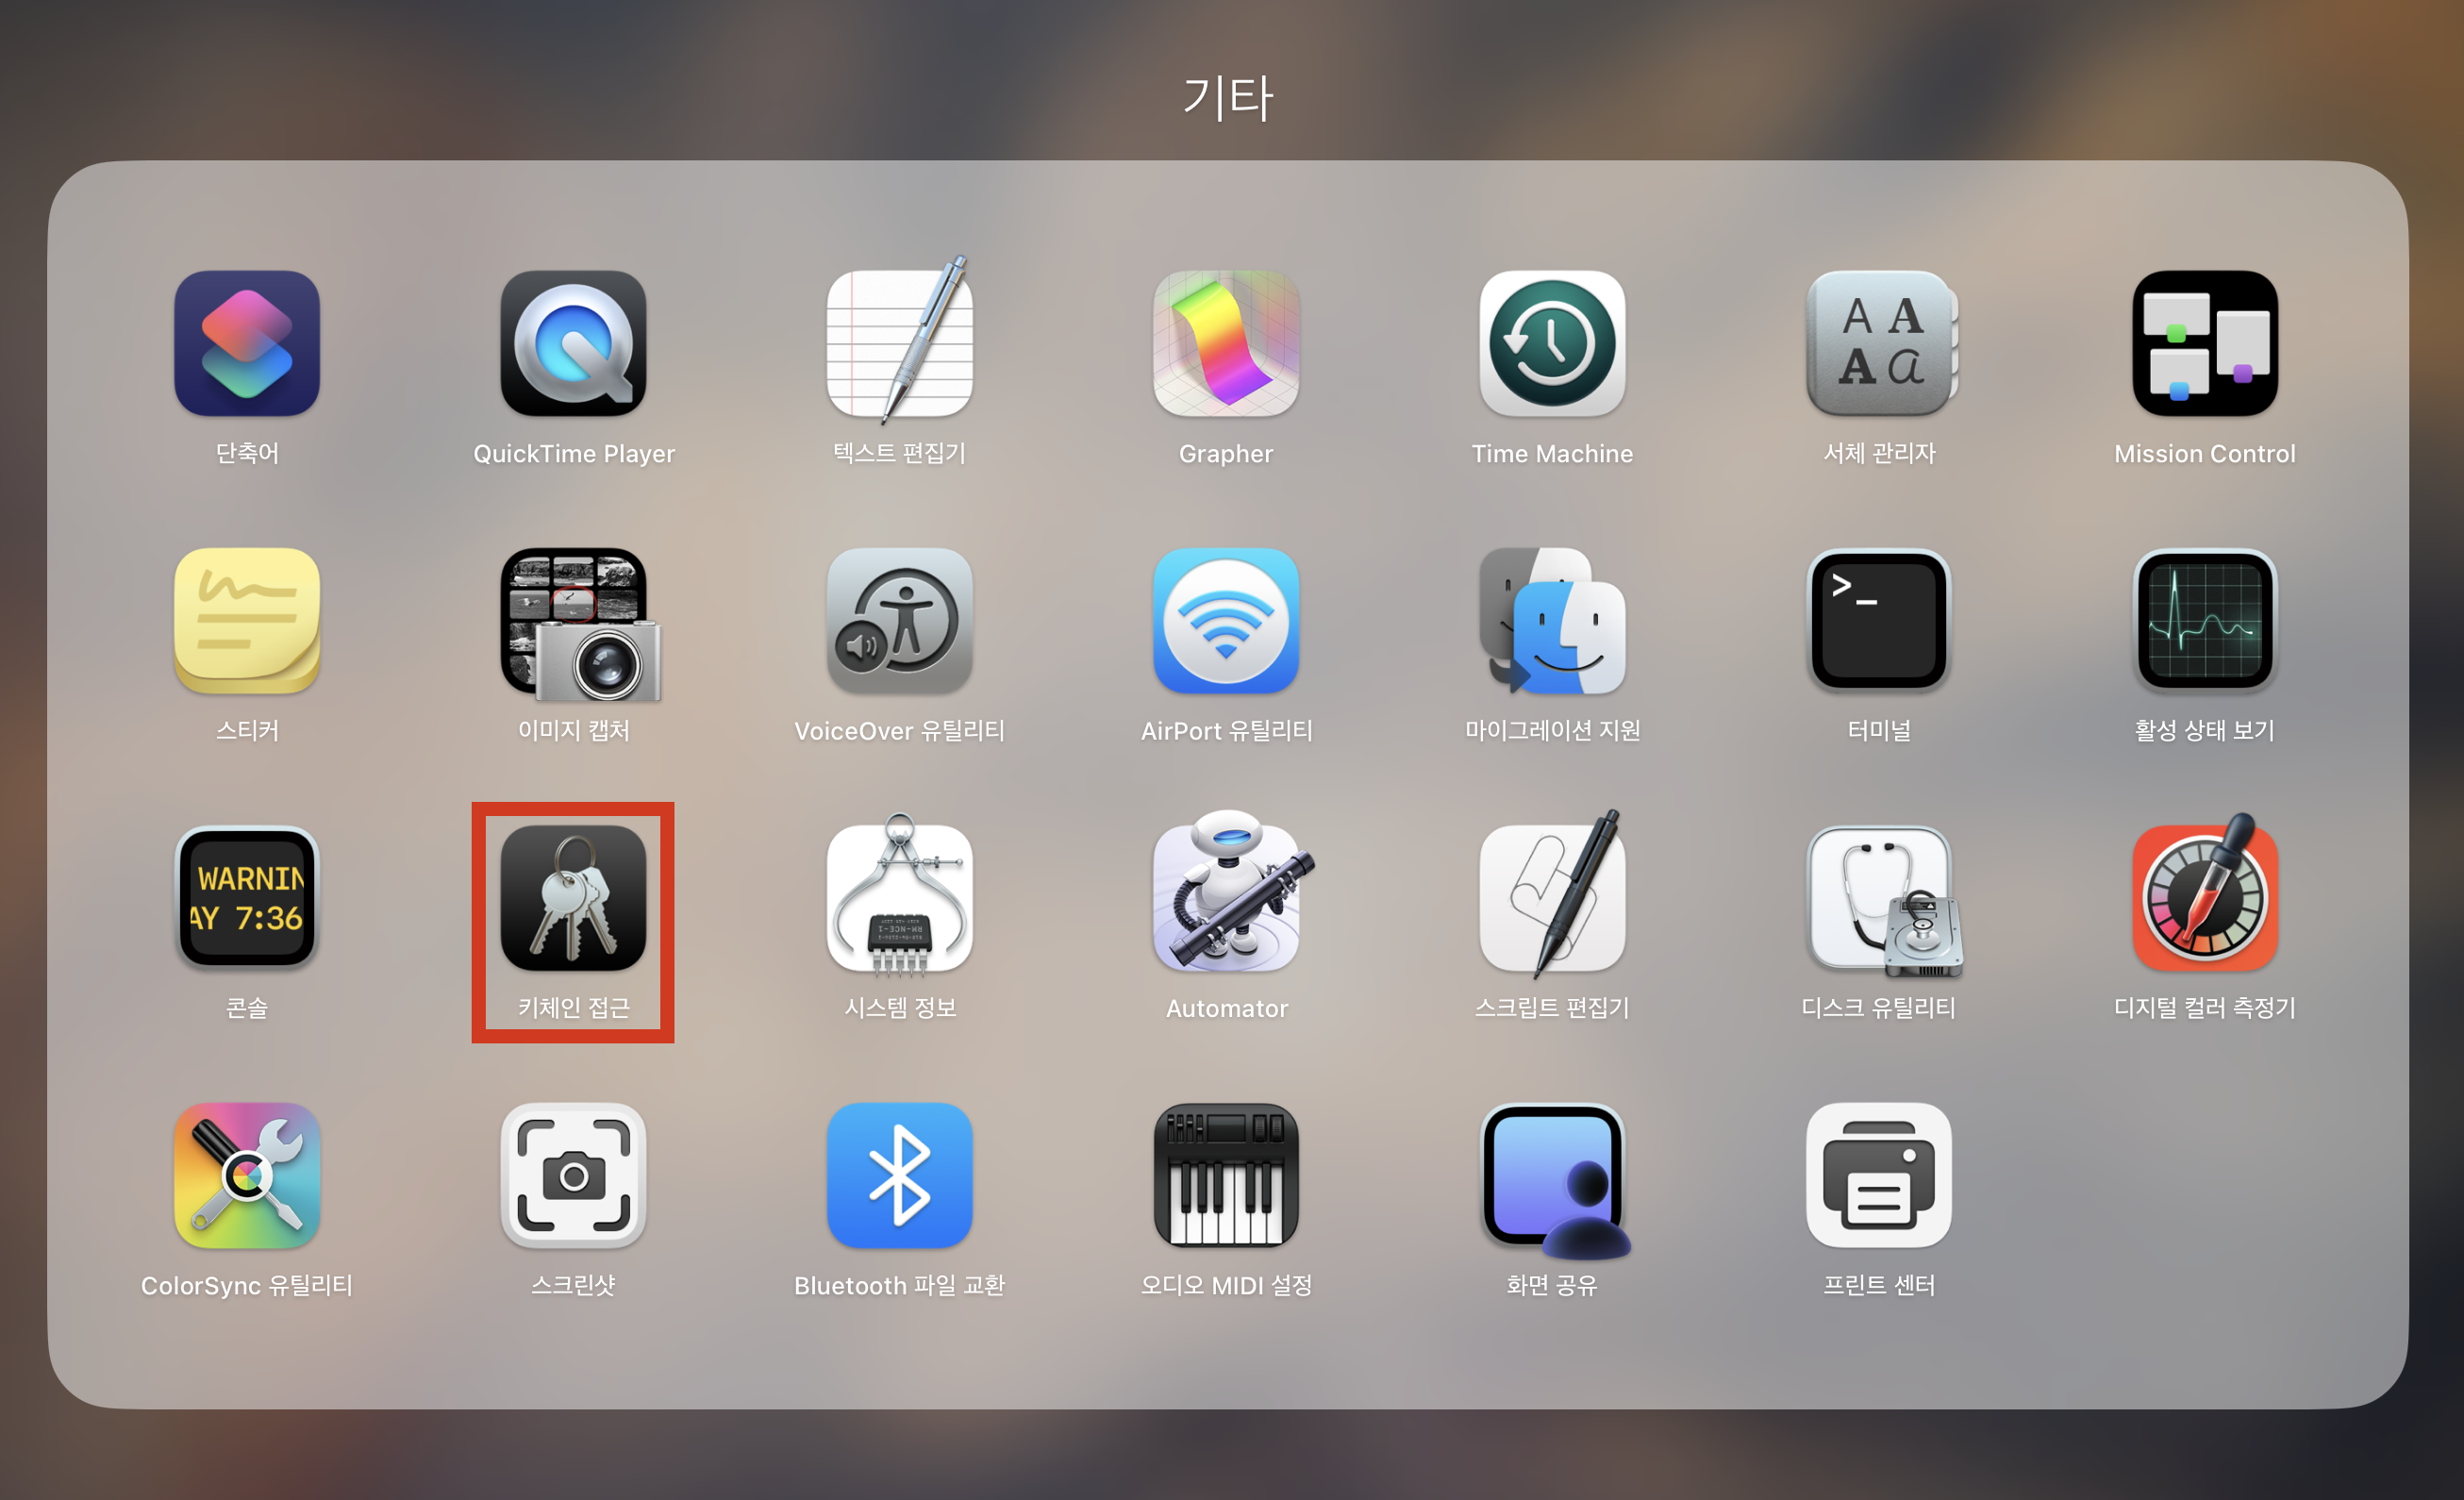
- First, open Keychain Access by searching with
Cmd + Spaceor navigating to Applications - Utilities - Keychain Access.
- In Keychain Access, you must first create a CSR (Certificate Signing Request).
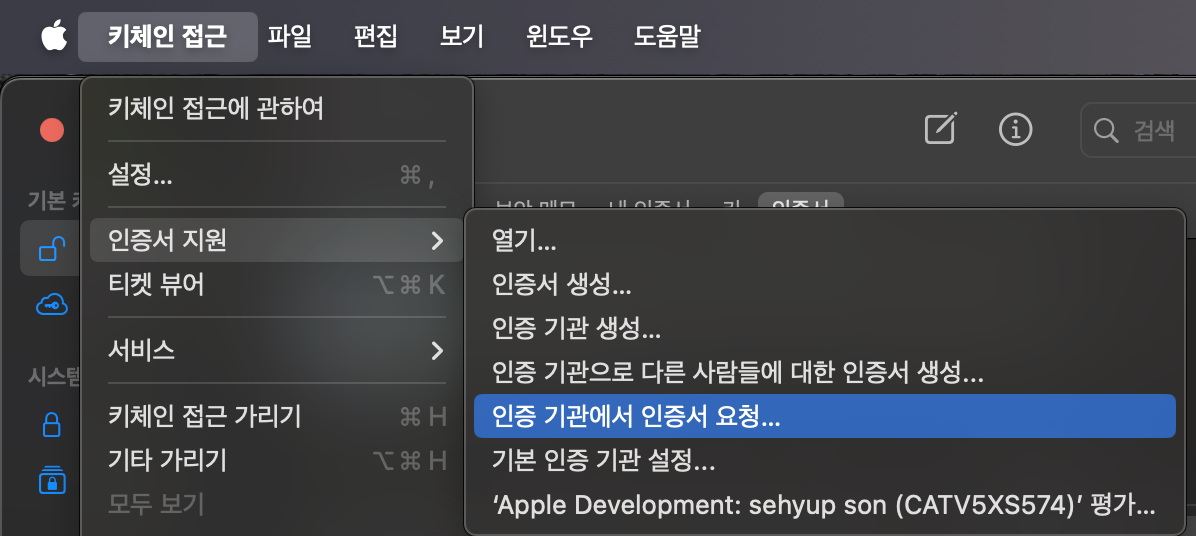
- From the top menu, click Keychain Access -> Certificate Assistant -> Request a Certificate From a Certificate Authority.
- Requesting a Certificate from a Certificate Authority performs the following:
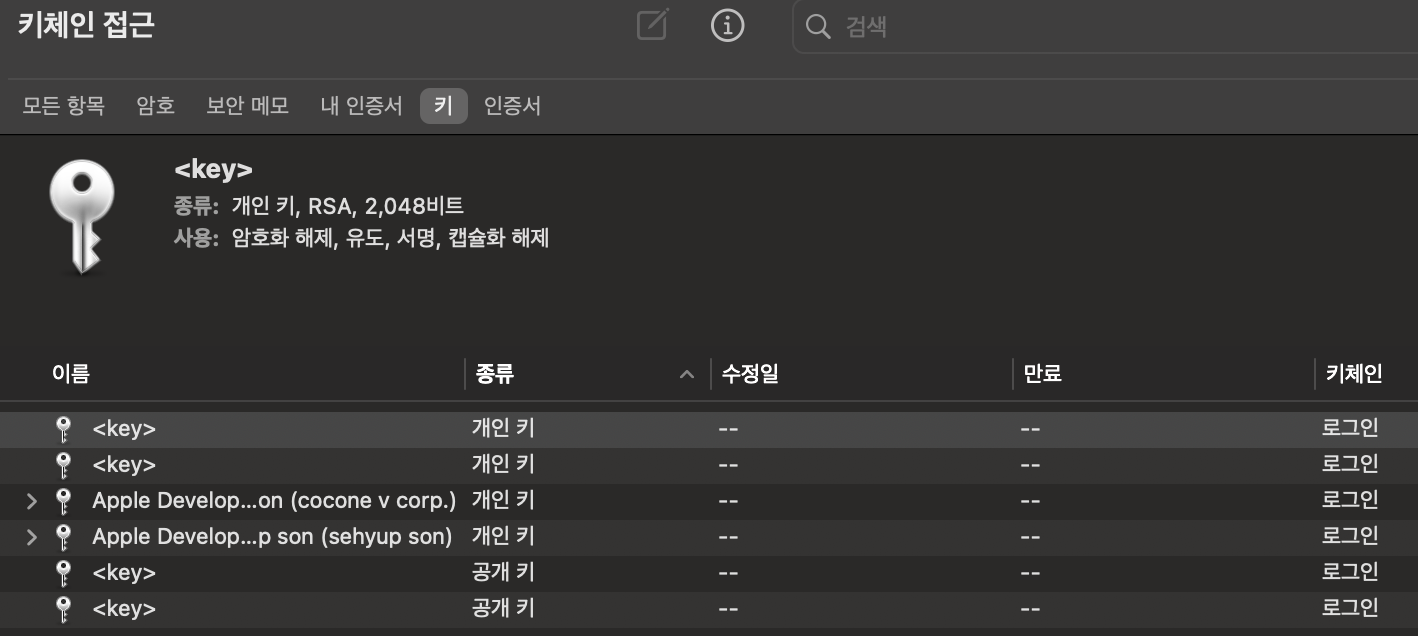
- Automatically generates a Public Key and Private Key for the certificate. These keys can be found in the “Keys” category of the Keychain app. (Keep them safe!)
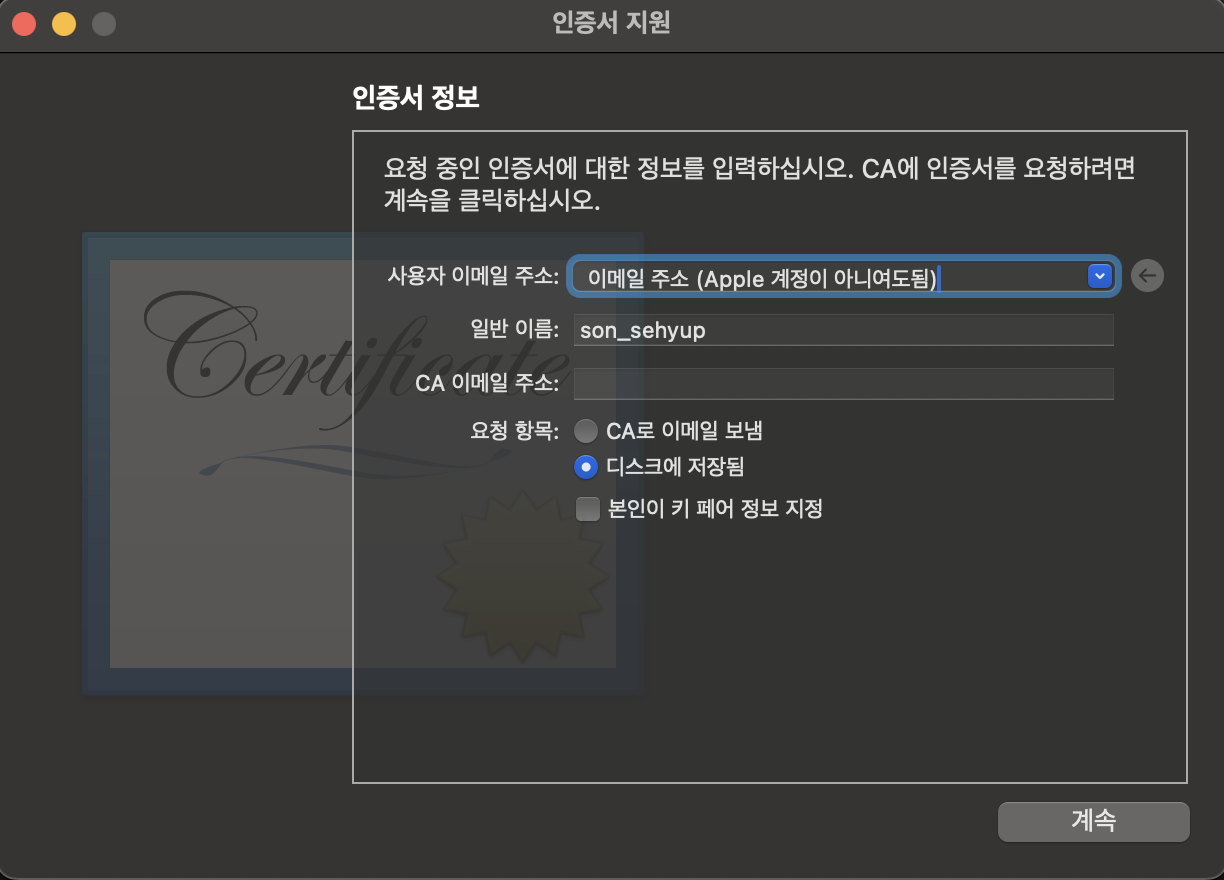
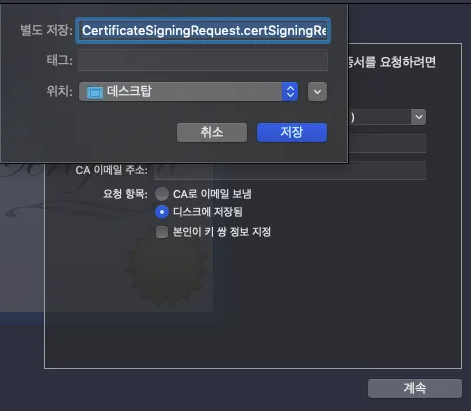
- Creates a CertificateSigningRequest.certSigningRequest file to send to Apple. This file contains your name, email, and public key, and is signed using your private key.
- Automatically generates a Public Key and Private Key for the certificate. These keys can be found in the “Keys” category of the Keychain app. (Keep them safe!)
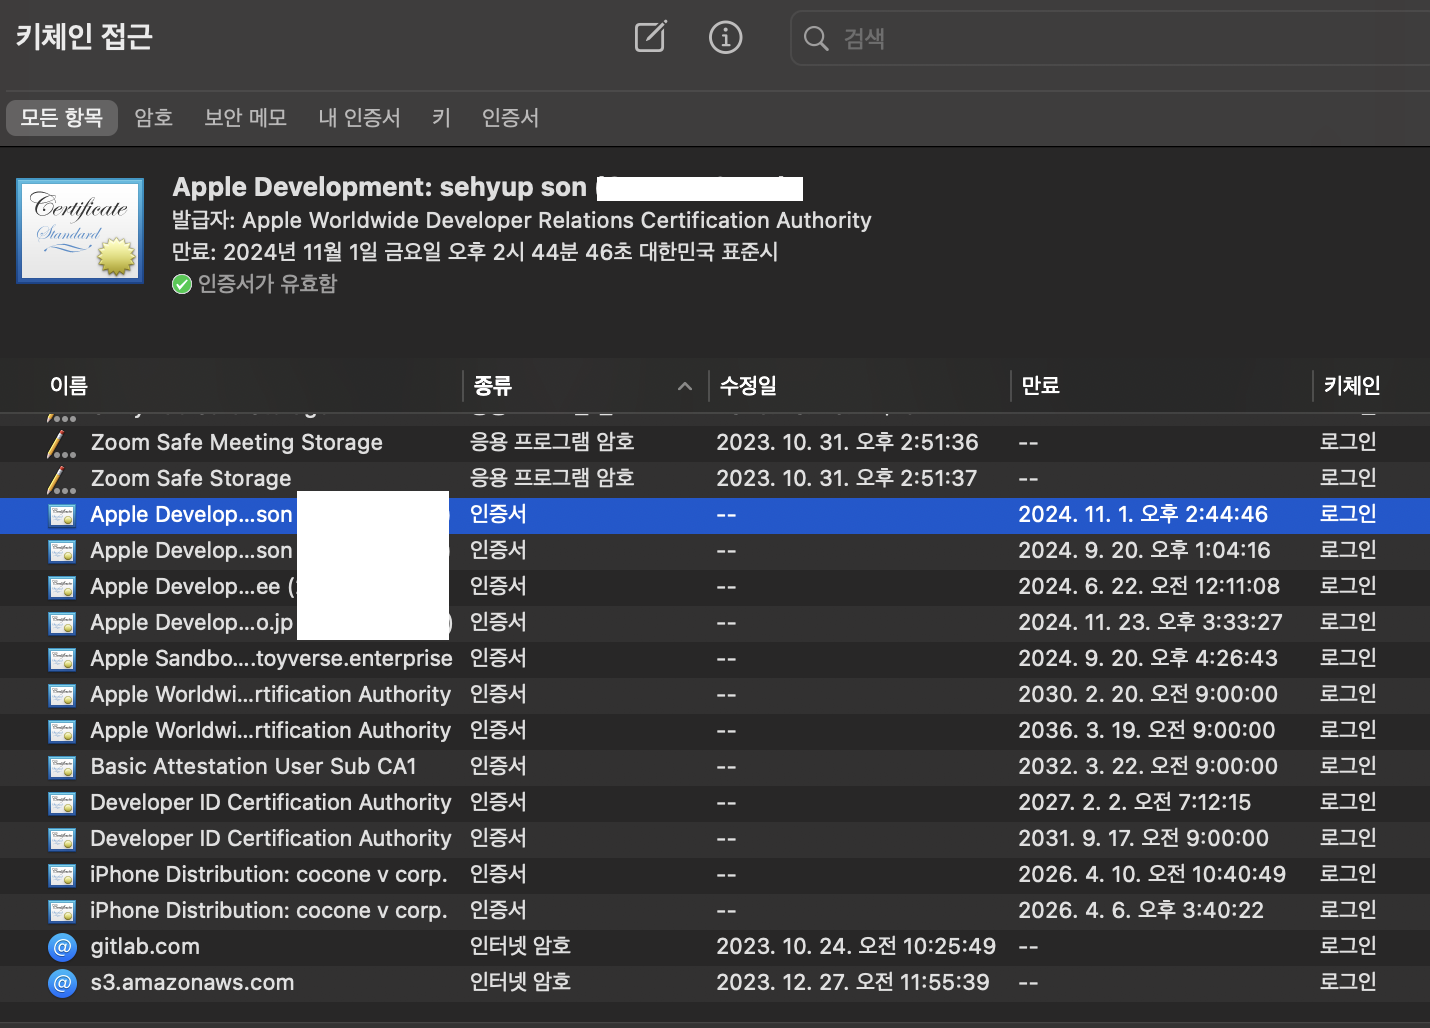
- After this process, you will see the generated Public and Private keys under the “Keys” section in Keychain Access with the common name you provided.
2. Issuing a Certificate
- Go to Apple Developer -> Click Certificates.

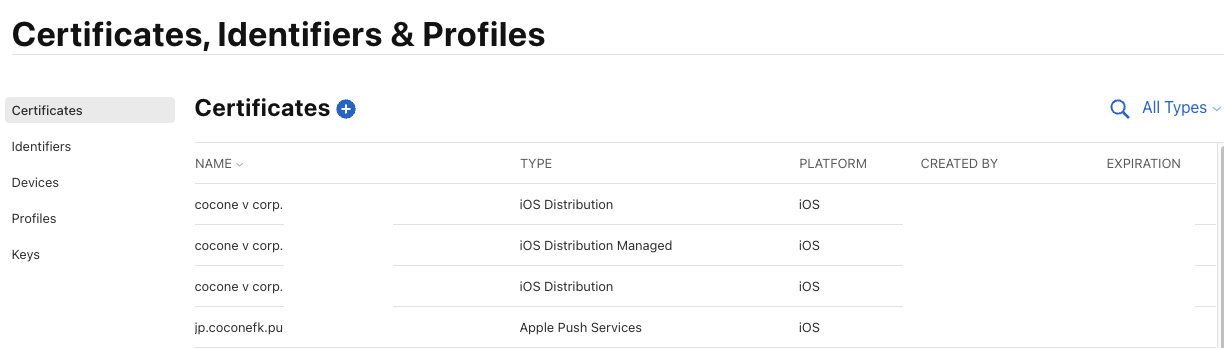
- You will see the Certificates, Identifiers & Profiles tab.
- From the left tab, you can create Certificates, Identifiers, Profiles, or register test Devices.
- Click the “+” button to create a Certificate first.
- Generally, iOS Certificates are divided into Development and Distribution, excluding Enterprise.
Difference between Apple Developer Program (Release) and Apple Developer Enterprise Program (In-house Test)
In summary, Apple Developer Program is for App Store releases, and Enterprise is for internal company testing.
Of course, you can still test via TestFlight by creating a Development Certificate in the Apple Developer Program! (It’s not strictly for release only.)
- The differences between Enterprise and Developer (Release) when creating a Certificate are as follows:
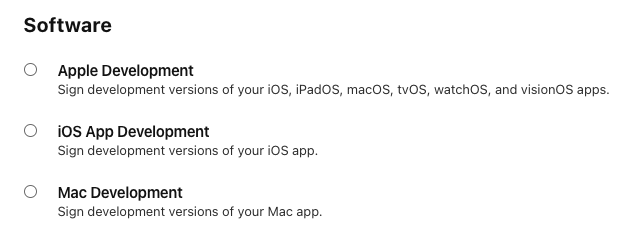
Apple Developer Enterprise Program
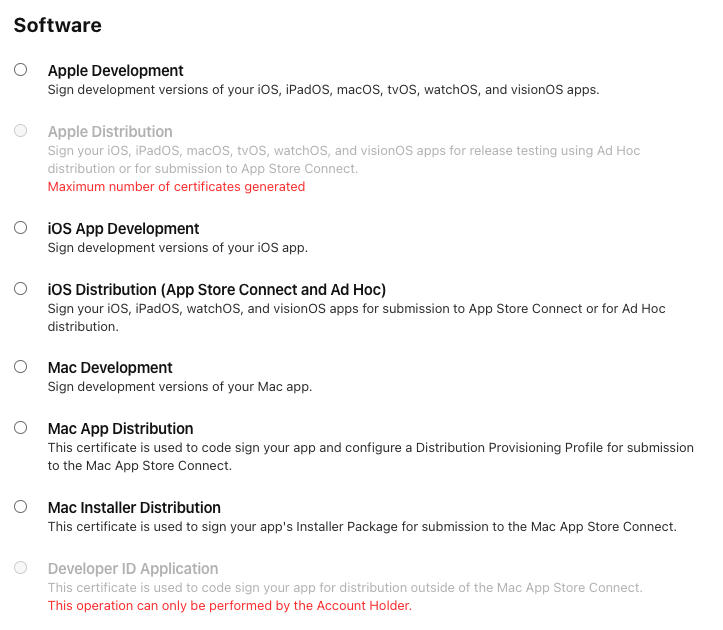
Apple Developer Program
- Note that only the Apple Developer Program distinguishes between Development and Distribution.

- Upload the CSR (CertificateSigningRequest) you created and proceed by clicking Continue.
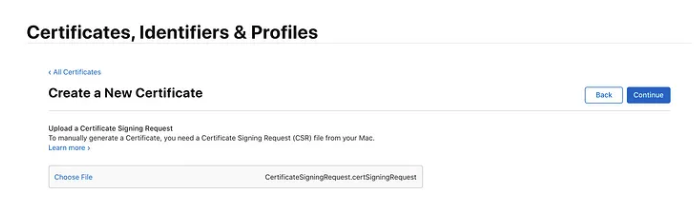
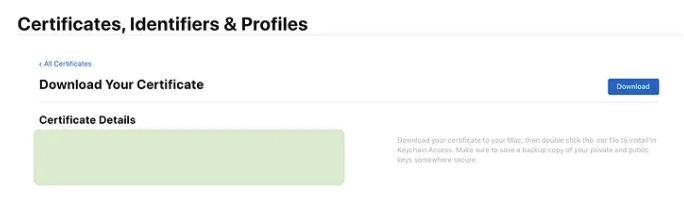
- Download the generated Certificate and double-click it to automatically register it to your Keychain.
- Completing these steps makes you an Apple-certified developer.
- However, you only have permission to sign apps; you still need to verify that the device trusts you as a developer.
- You need to link the newly created Certificate with an iOS device. This is called a Provisioning Profile.
Provisioning Profile
- A Provisioning Profile contains App ID, Certificate, and Device information, linking iOS devices with the Apple Certificate.
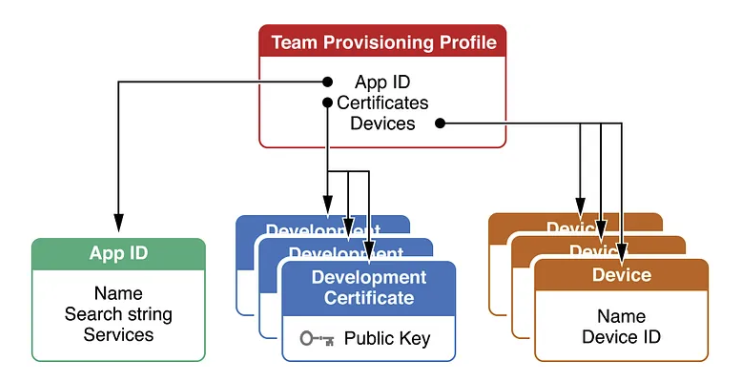
- App ID: Contains the Bundle ID information registered in the App Store.
- Certificate: Use the certificate created above when making the Identifier -> Use that Identifier when creating the Provisioning Profile.
- Device: UDID of the device to be used for testing.
- Before creating a Provisioning Profile, you need to register an App ID (Identifier) and Devices based on the Certificate.
- First, let’s create an App ID.
How to Create App ID (Identifier)
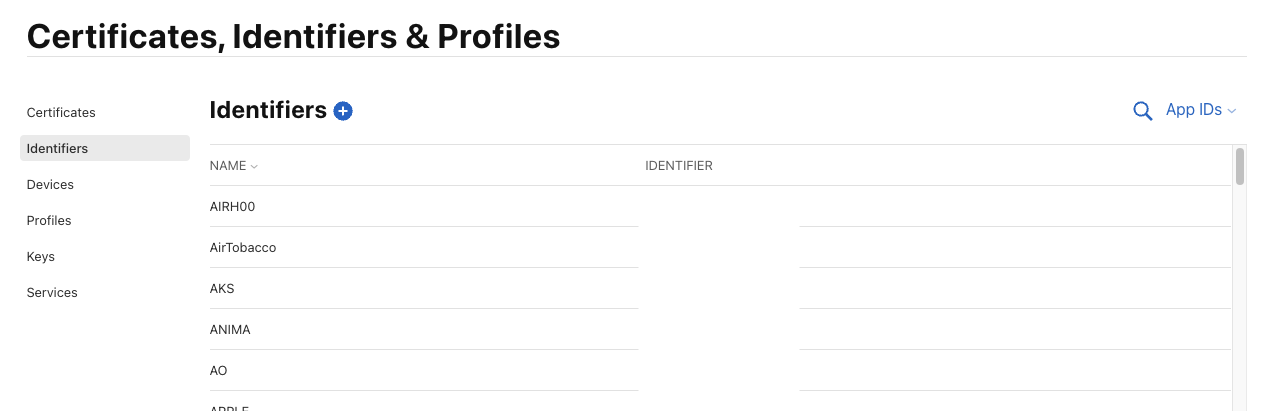
- Click Identifiers on the left tab -> Click the “+” button to start creating an App ID.
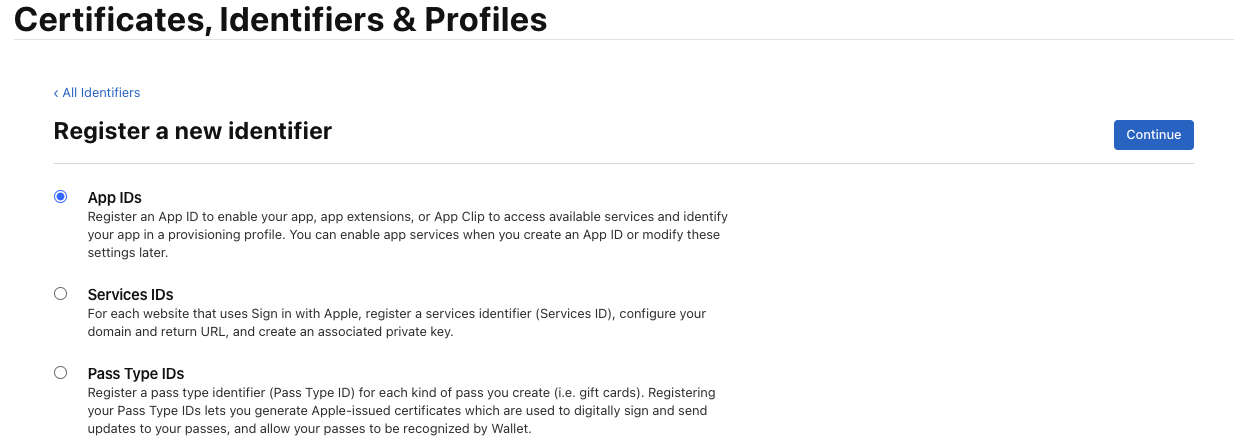
- Select App IDs and click Continue.
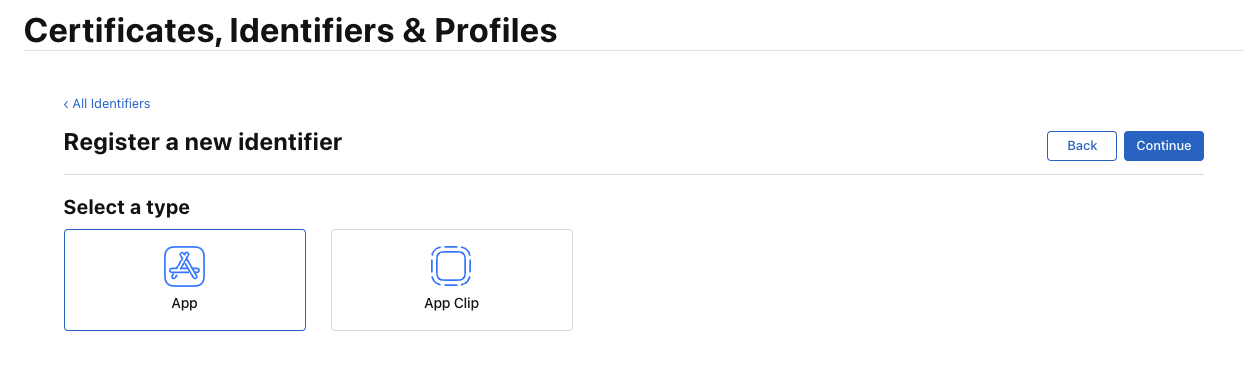
- Select the desired type (App, App Clip) - here we choose App.
- Note: Enterprise does not have this step.
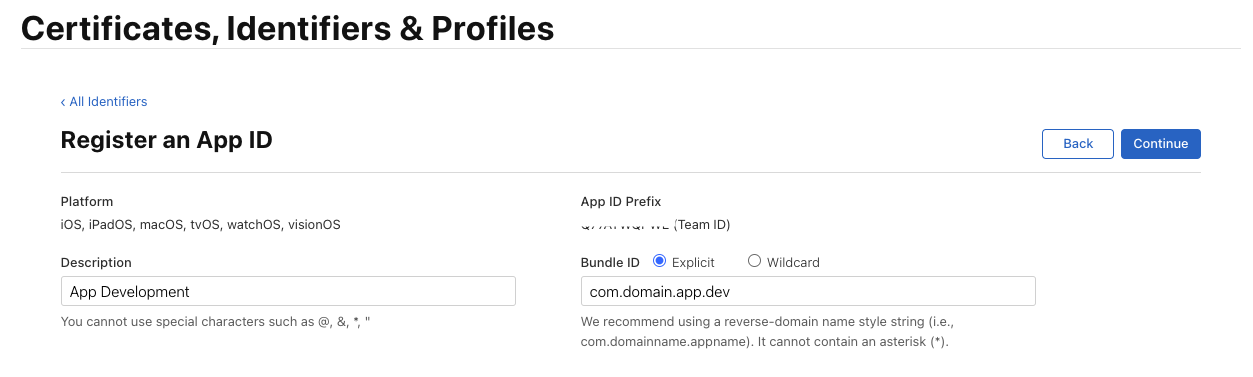
- Specify what this profile is for in Description and enter the Bundle ID.
- Apple’s recommended naming convention is:
We recommend using a reverse-domain name style string (i.e., com.domainname.appname). It cannot contain an asterisk (*).
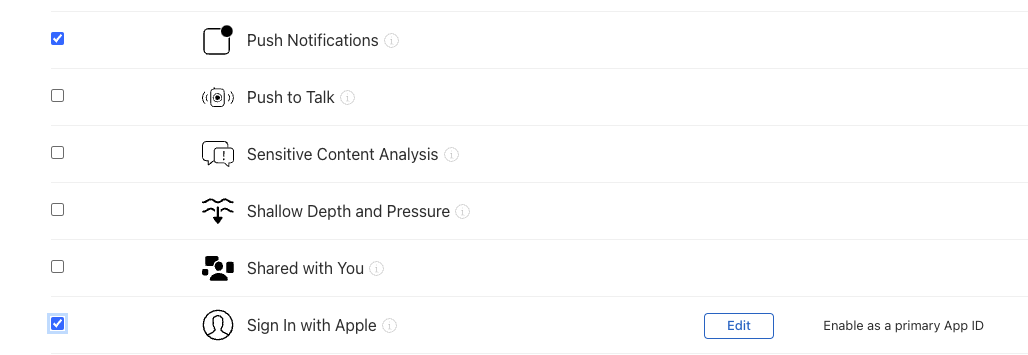
- Make sure to check the Capabilities you will use. (Can be modified later)
- Commonly used ones include Push Notifications and Sign in with Apple. (Often forgotten during initial setup)
- Click Continue and then Register to register the App ID in Identifiers!
How to Register Devices
- Click Devices -> Click the “+” button to register a device.

- For Device Name, it’s better to use a name like the device type or model.
- UDID is the unique device ID, which can be found in settings (or via Finder/iTunes).

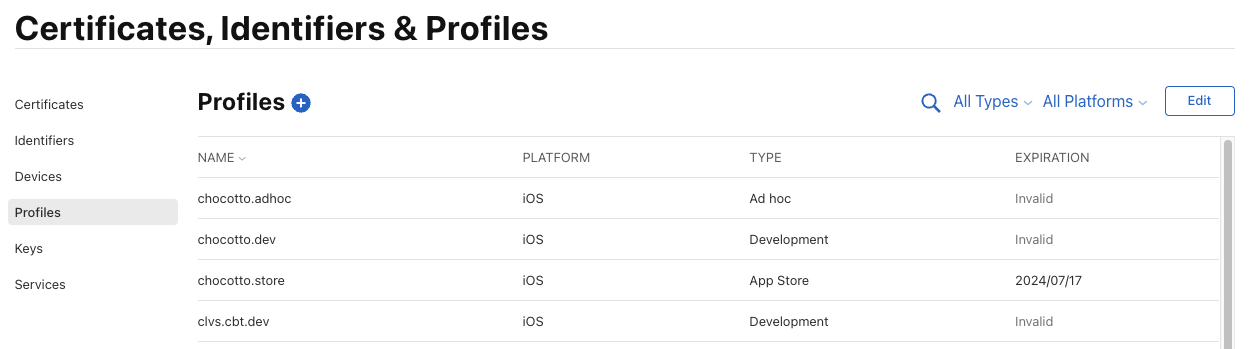
How to Create Provisioning Profile
- Now that everything (Certificate, App ID, Device) is ready, we need to make the Provisioning Profile.
- Click Profiles -> Click “+” to start creating a Provisioning Profile.
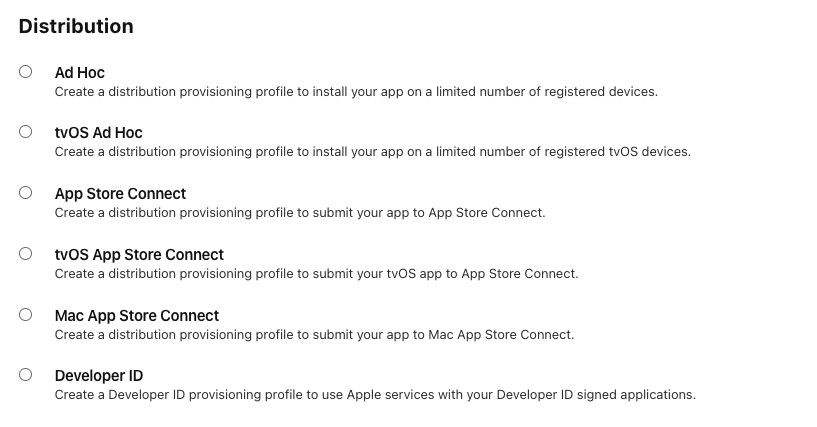
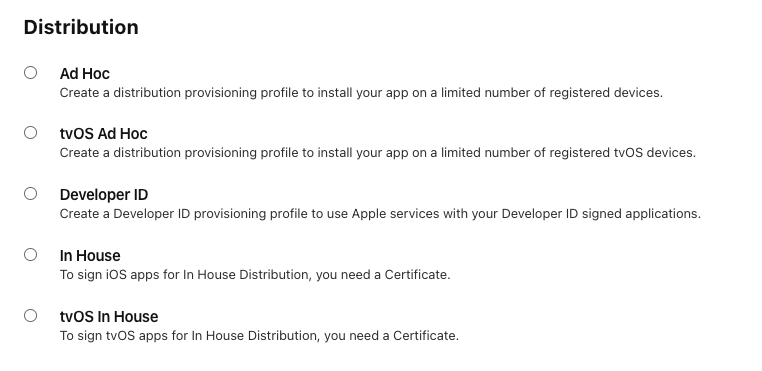
- Differences between Enterprise and Developer (Release) when creating a Provisioning Profile:
Apple Developer Enterprise Program
Apple Developer Program
- Note: Ad Hoc allows distribution by registering internal testers, and In House allows distribution by registering the .ipa file to services like App Center.
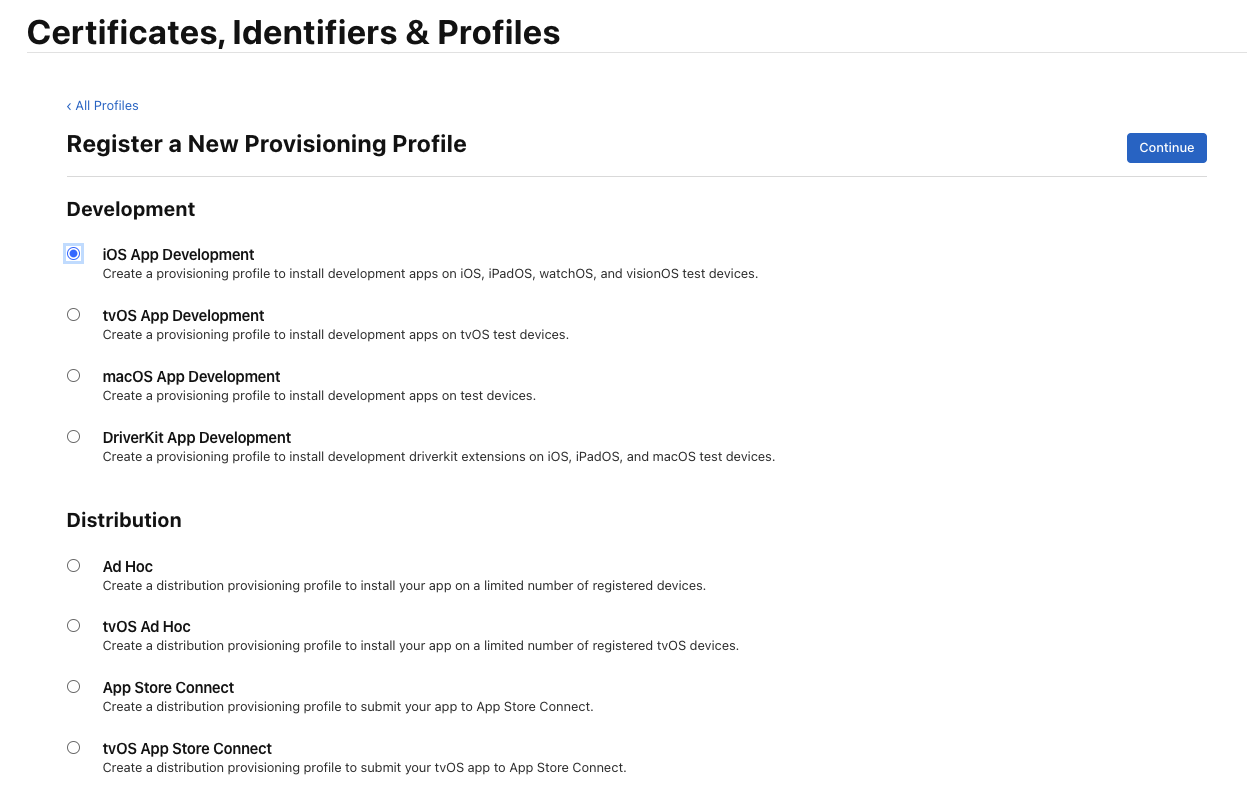
- Select Development or Distribution and click Continue.
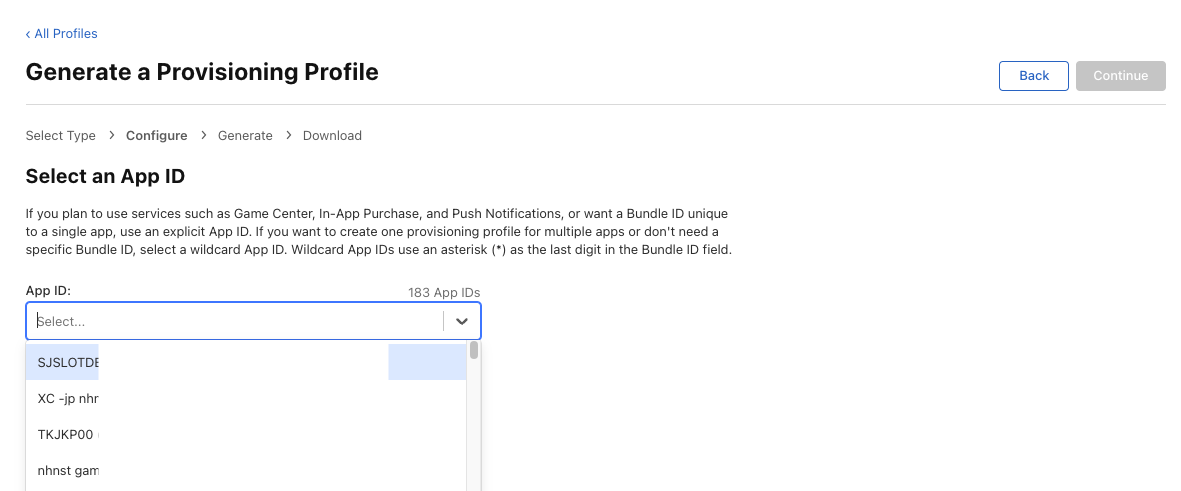
- Select the App ID you just created and click Continue.
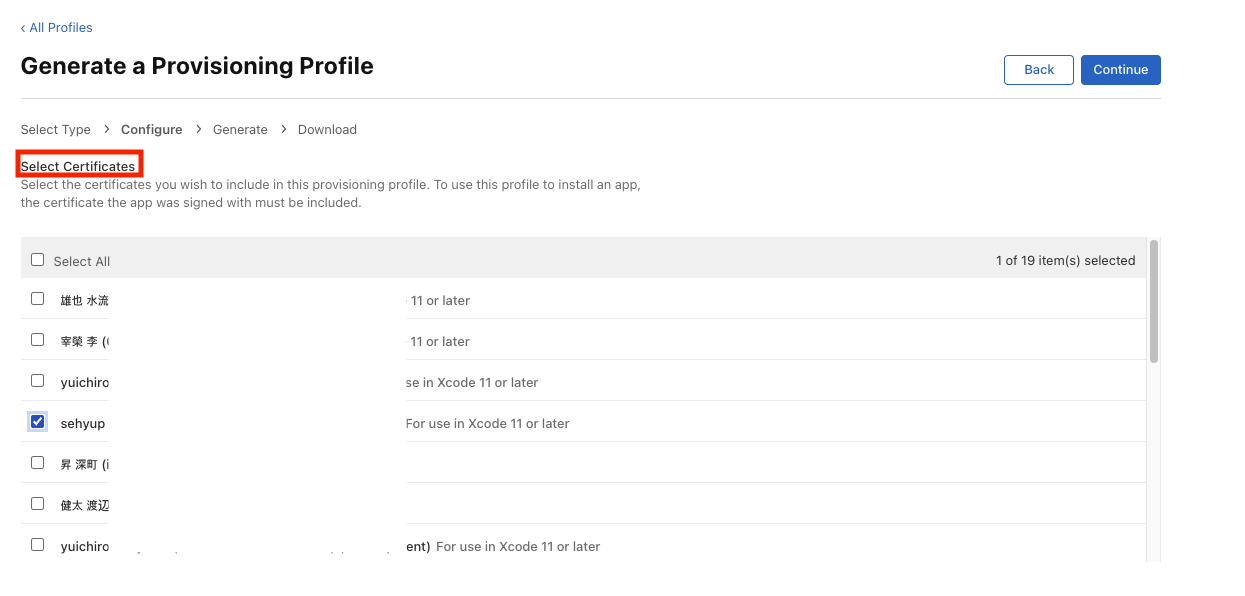
- Select the Certificate created earlier and click Continue.
- Select the Device and…
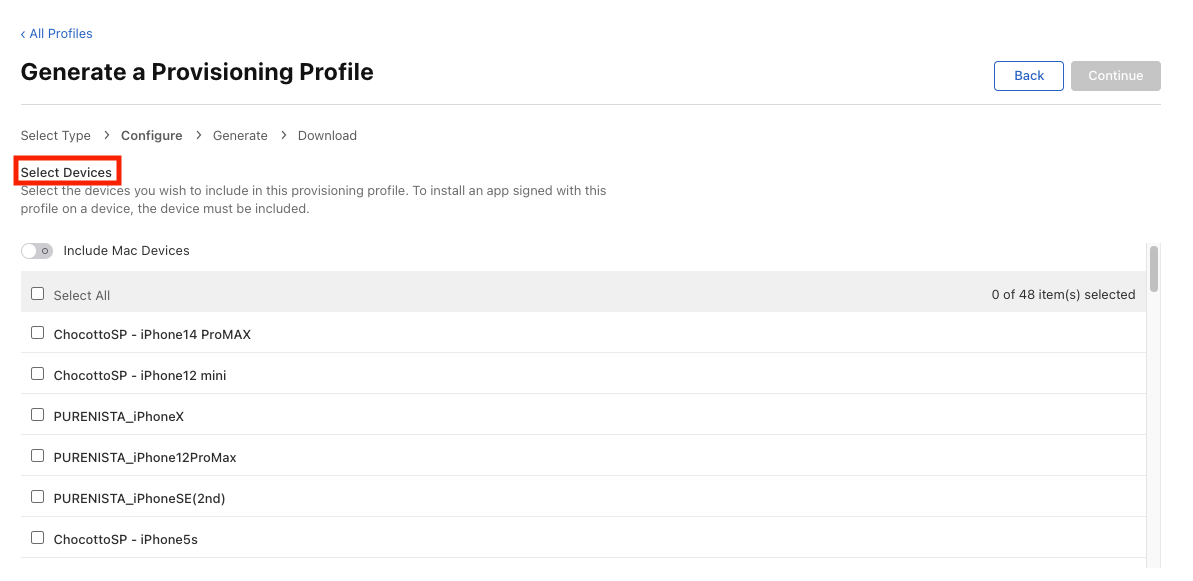
- Enter a Provisioning Profile Name and click Generate to create it.
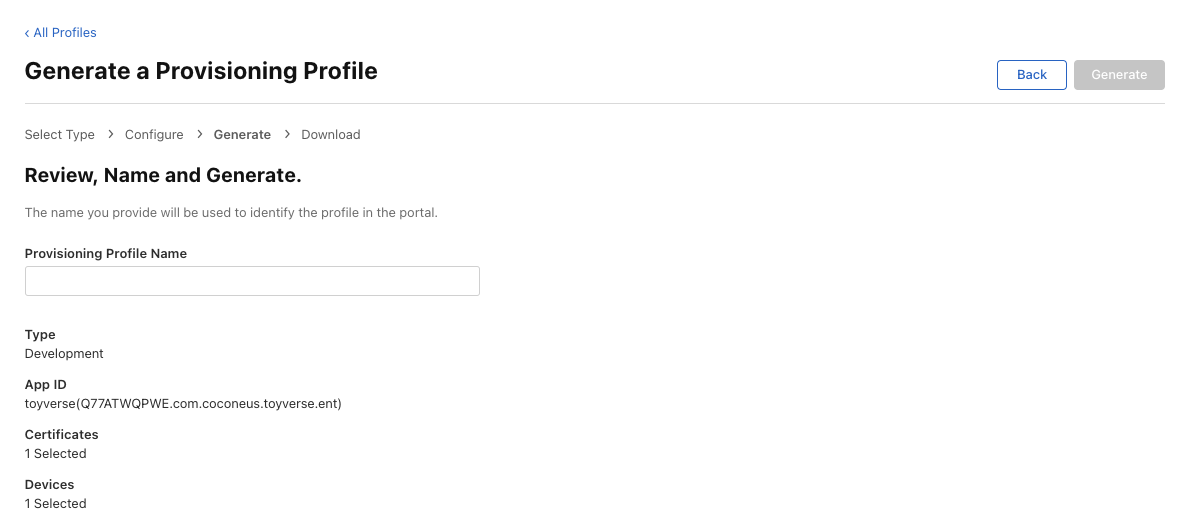
- Download the Provisioning Profile and place it inside your Unity Project!
- For Toyverse, we organized folders under a
Keystorefolder separated by Development, Enterprise, and App Store.
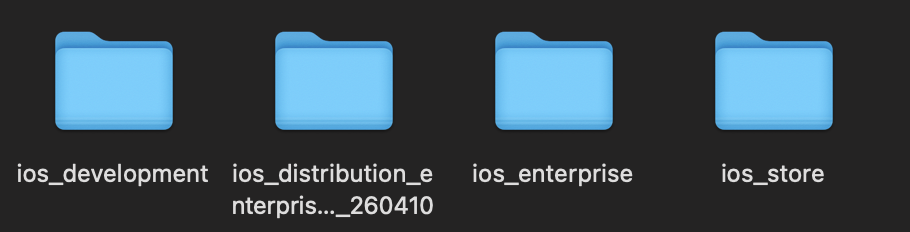
- Each folder contains the Certificate and Provisioning Profile.
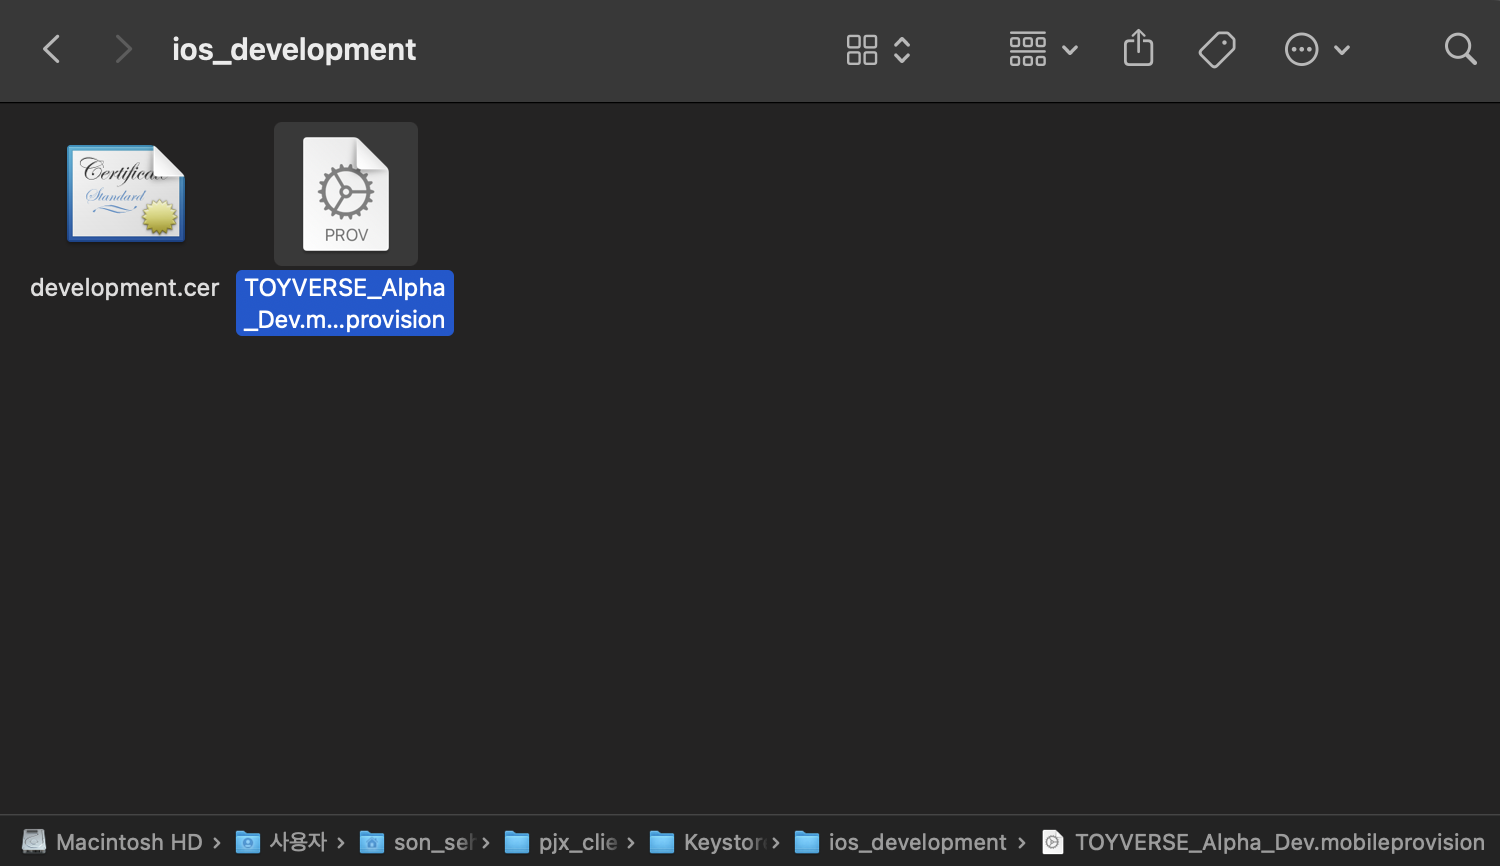
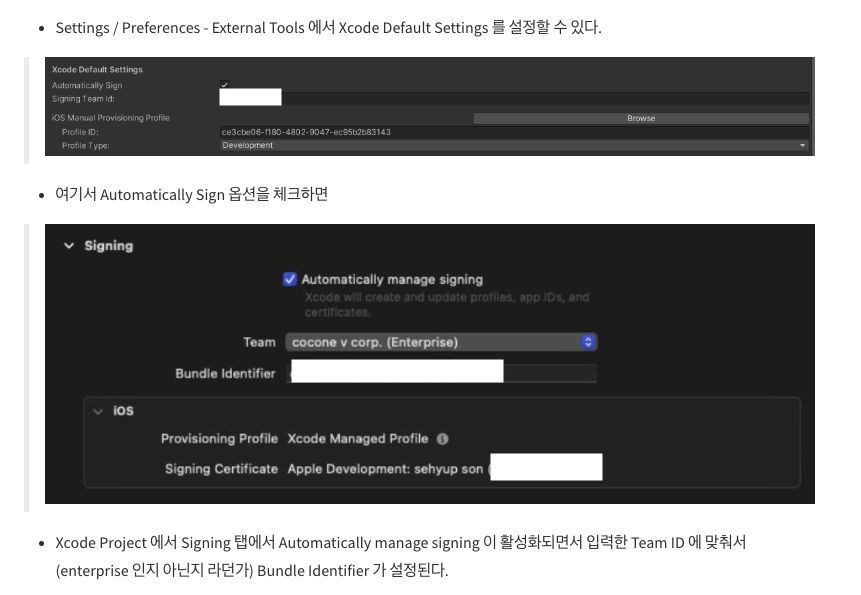
- The reason for placing the Provisioning Profile here is that when building the Unity project and exporting to Xcode, checking Automatically Manage Signing allows you to register it in Project Settings / Preferences. For details, refer to the Xcode Build Pipeline Post.
- This completes the Code Signing process!
- If an error occurs, check if the Bundle Identifier is correct!
- Since you can have multiple Provisioning Profiles, the linked App ID must match the Bundle ID of the project you are trying to compile.
This post is licensed under CC BY 4.0 by the author.